

 SHOP THE POST
similar sweater // shorts // frames // pink couch // rug
Welcome Back!
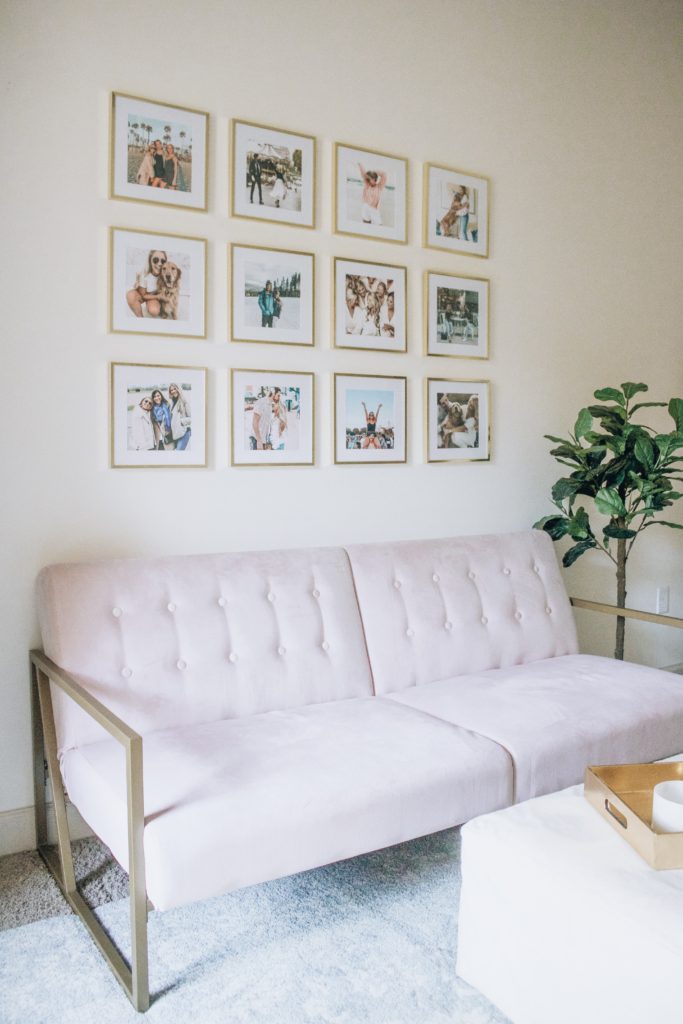
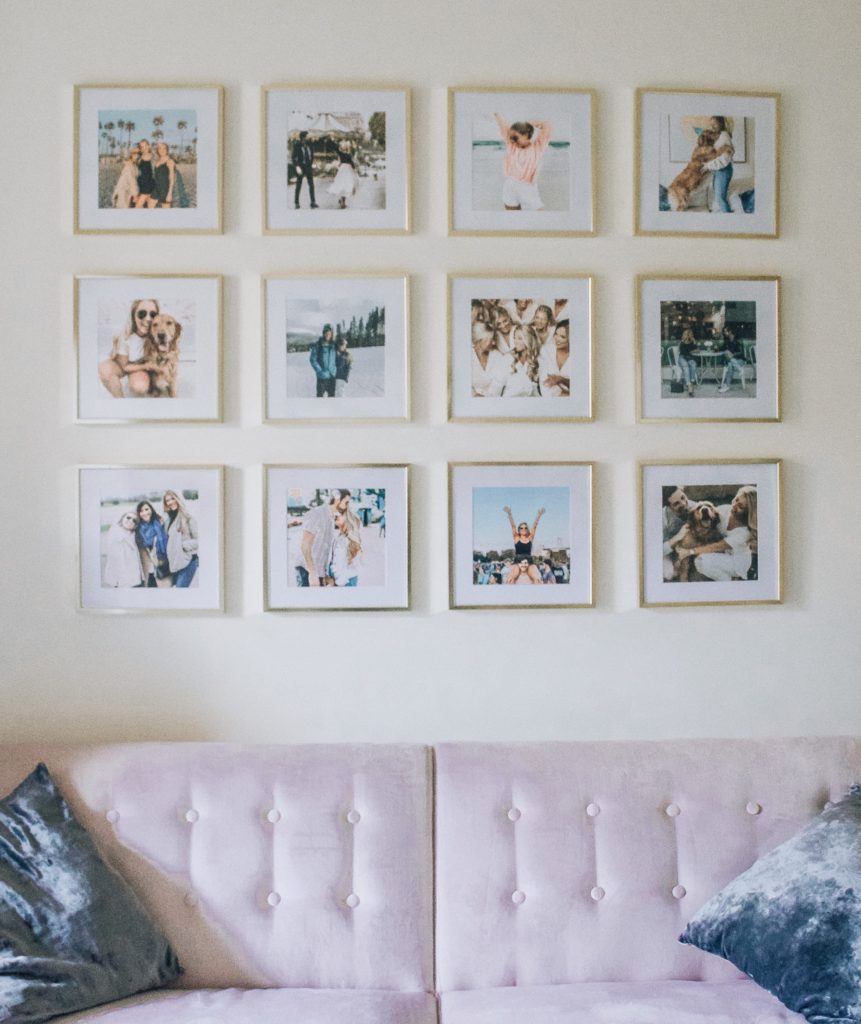
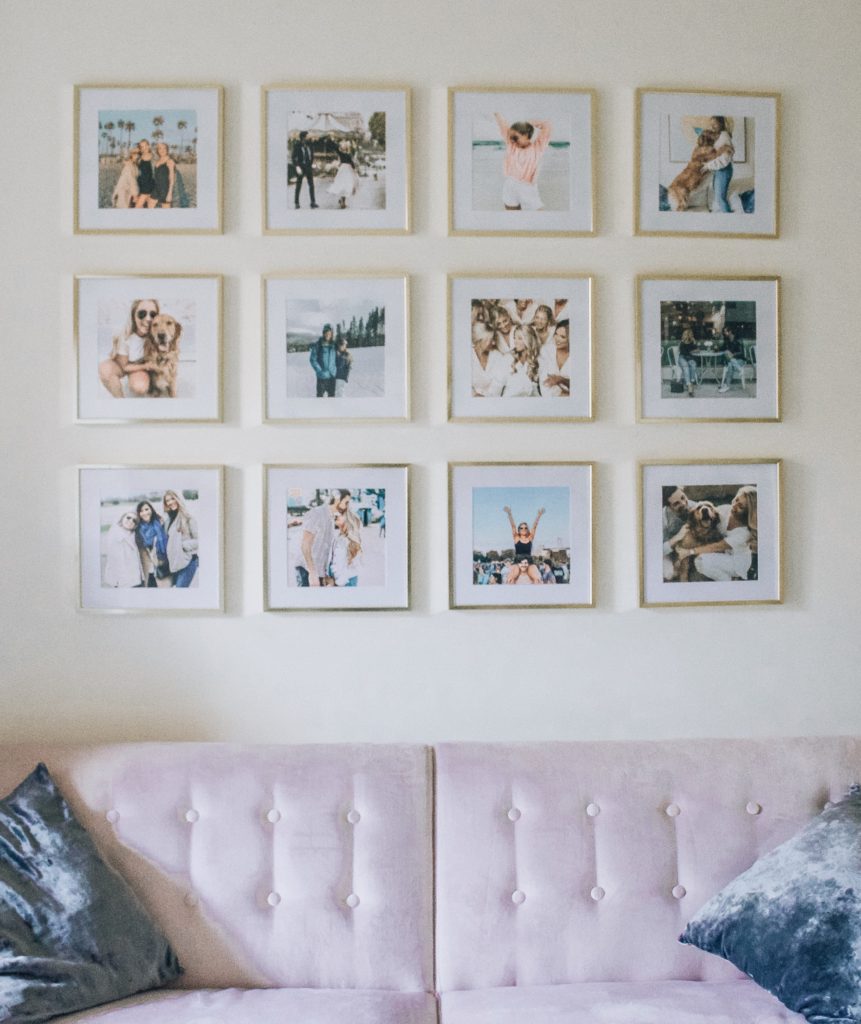
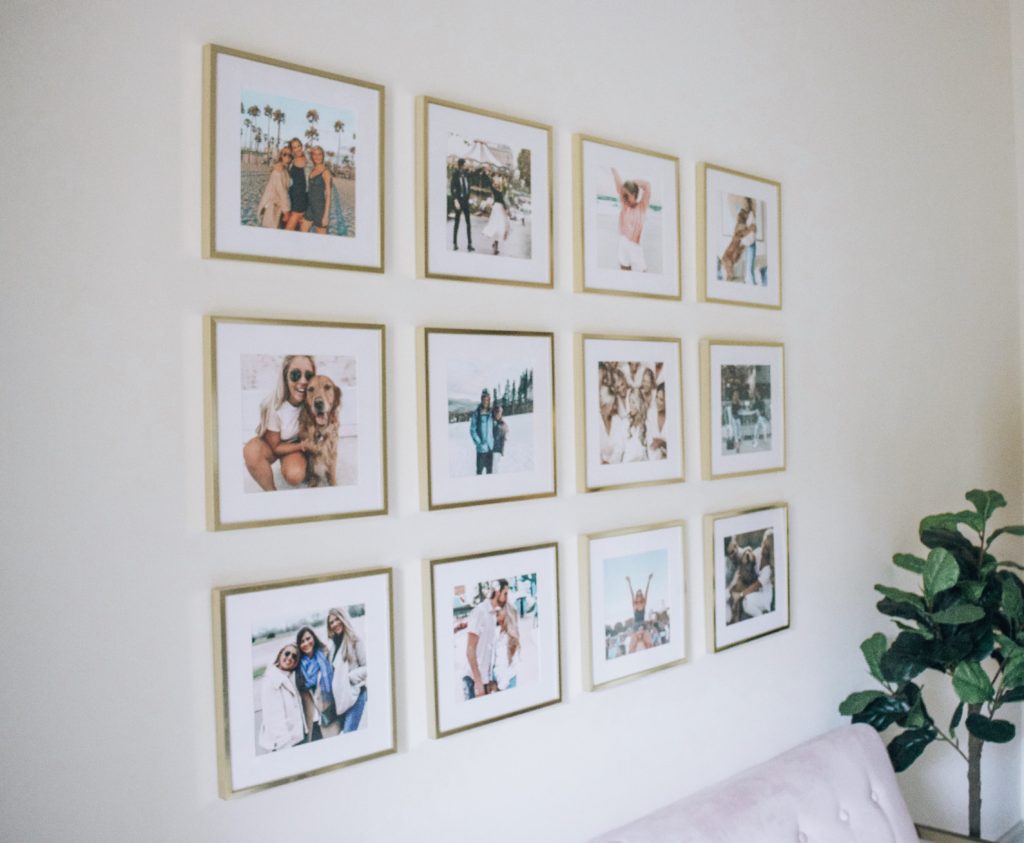
My goodness, this post is way over due. As you guys saw on Instagram a few weeks ago, we dedicated one of our Sunday afternoons to finally putting up the gallery wall in my home office.
When deciding how I wanted to go about designing/putting my gallery wall, I really wanted to make sure I kept two things in mind. First, I wanted to make sure the process was as easy and seamless as possible. That way, anyone could do it! Second, I wanted to make sure it was affordable. There are a few websites out there (ex. ) who will print the photos for you, frame them and send you everything you’ll need to build your gallery wall. It’s pretty legit. The problem is that the cost can add up pretty quickly with that route, so I wanted to find a more affordable option for all of you!
What You’ll Need
- Leveler
- Frames
- Nails
- Hammer
- Painters Tape
- Old Wrapping Paper
- Scissors or Paper Cutter
- Ruler
- Magic Eraser
SHOP SUPPLIES
SHOP FRAMES
HOW TO BUILD A GALLERY WALL
DESIGNING YOUR WALL
Step One: Decide the Color, Size and Quantity of your Frames
For this, I suggest brainstorming on Pinterest. That’s what I did – check out my board here! This will help you decide whether you want to choose gold, white or black frames and if you want your frames to be square or not.
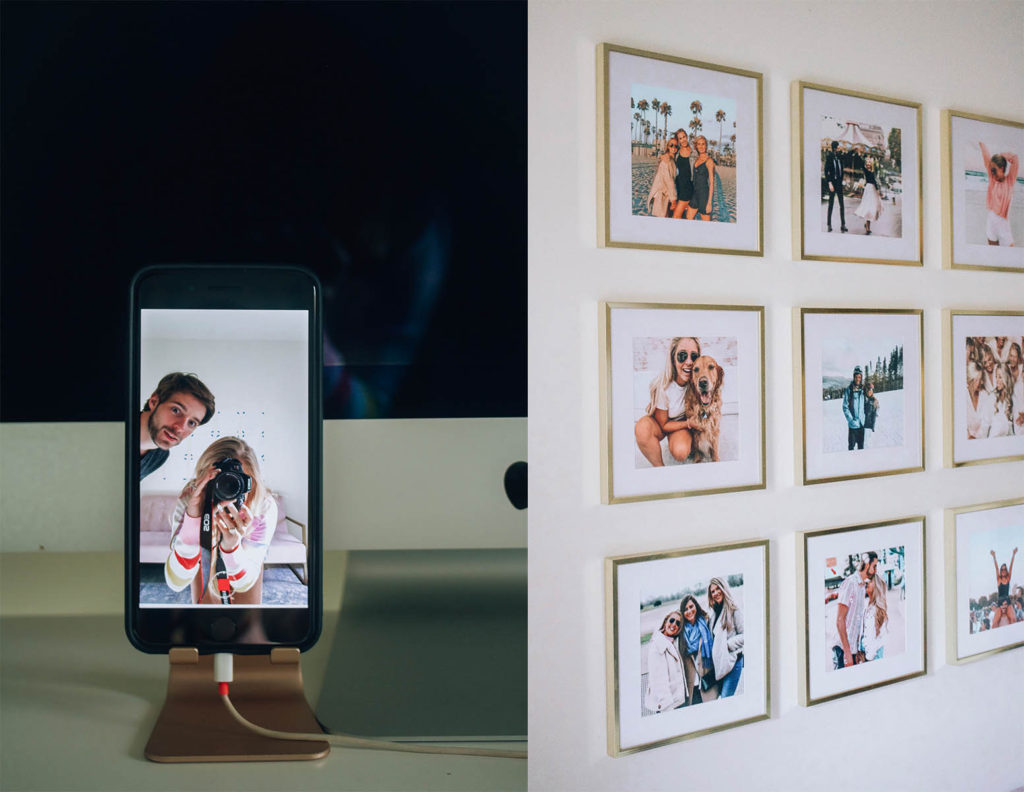
This is also a good time to decide how big you want your gallery wall to be! At first, I was planning on doing nine photos, but as I started arranging photos (step 5) I decided I wanted to add a few more and went up to twelve!
Step Two: Pick Out & Order Your Frames
Now that you have chosen the type of frame you want – it’s time to order them! In order to be the most cost efficient, I went straight to Amazon.
We ended up going with these frames, but above I have a few more options for y’all to choose from.
Step Three: Decide the Color Scheme of Your Photos
Now that your frames are on the way – it’s time to pick your photos! This is another step where your Pinterest board might come in handy. Do you want colorful & vibrant photos or more muted pastel photos? Maybe you’re thinking about keeping it classic and going the black and white route! Either way, you want to pick a scheme that will match your home the best and compliment the rest of your decor.
Step Four: Choose Your Photos and Order Prints
Now its time to go through all of your photos and pick the ones you want to hang. At first I thought about doing just our wedding photos, but since this Gallery Wall is in my office, I opted to fill it with a ton of random photos that bring me joy.
Once you have your photos picked out, decide where you want to have them printed (we did Walgreens!) and start uploading your photos.
**Before ordering your Prints though, be sure to double check the exact size photos that your frames require so that you can crop the appropriately! It will have this information in the details section online.
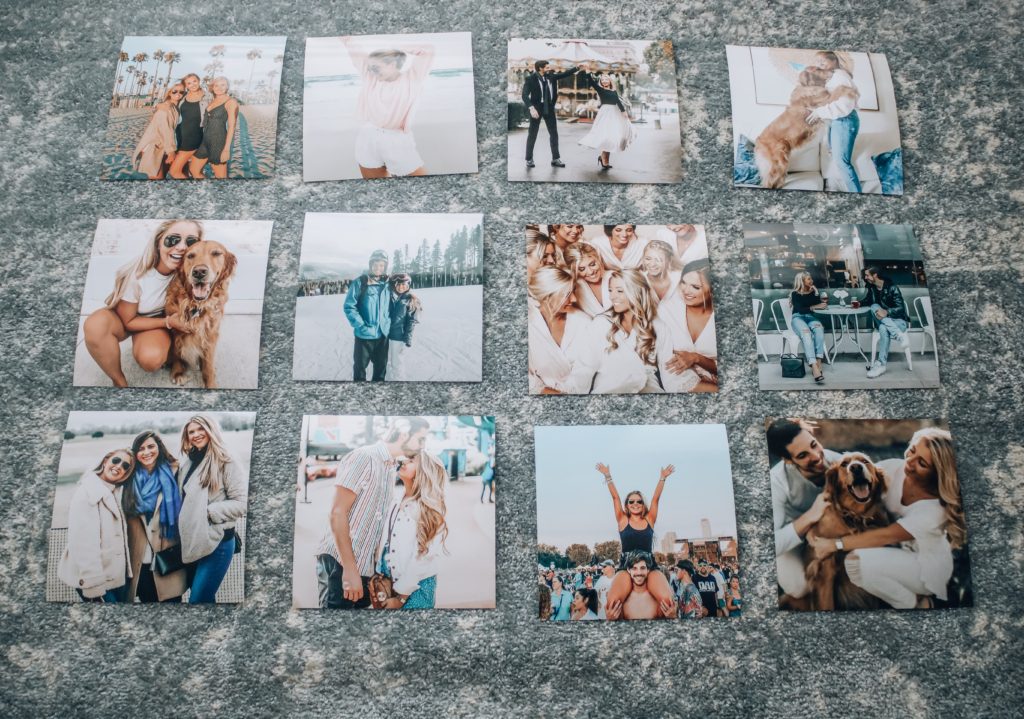
Step Five: Print Photos and Arrange
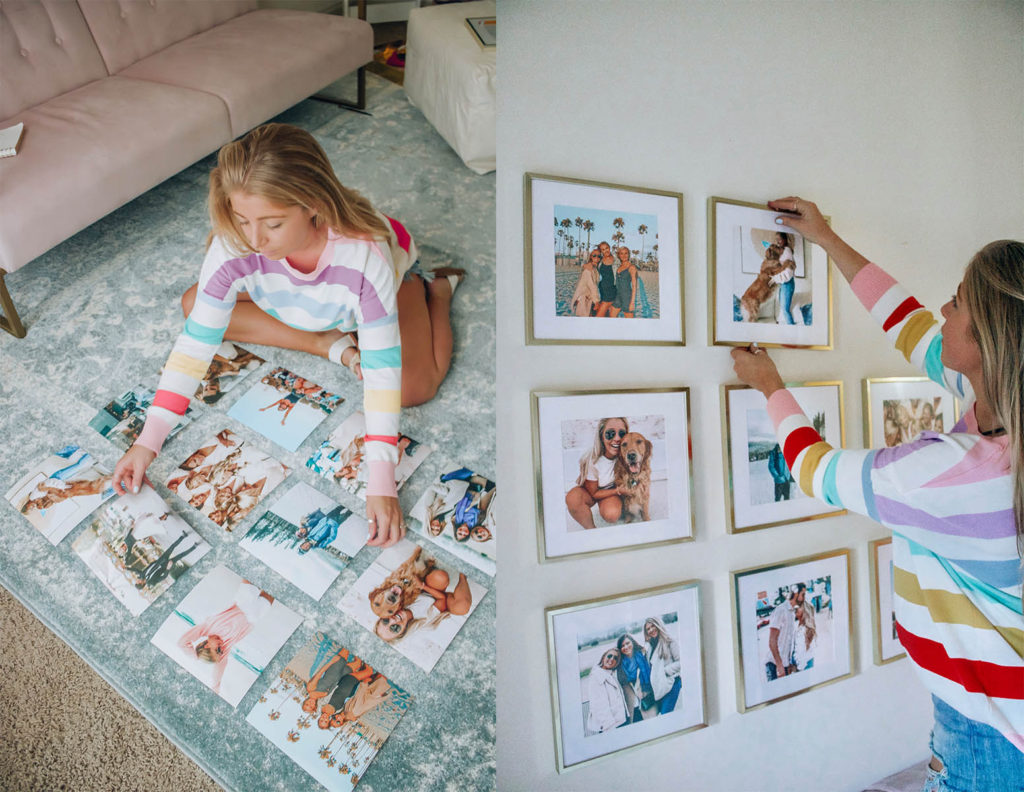
Once you print your photos, I suggest laying them on the ground and arranging them order you will want them to go on the wall.
BUILDING YOUR WALL
Step Six: Measure and Cut Your Squares
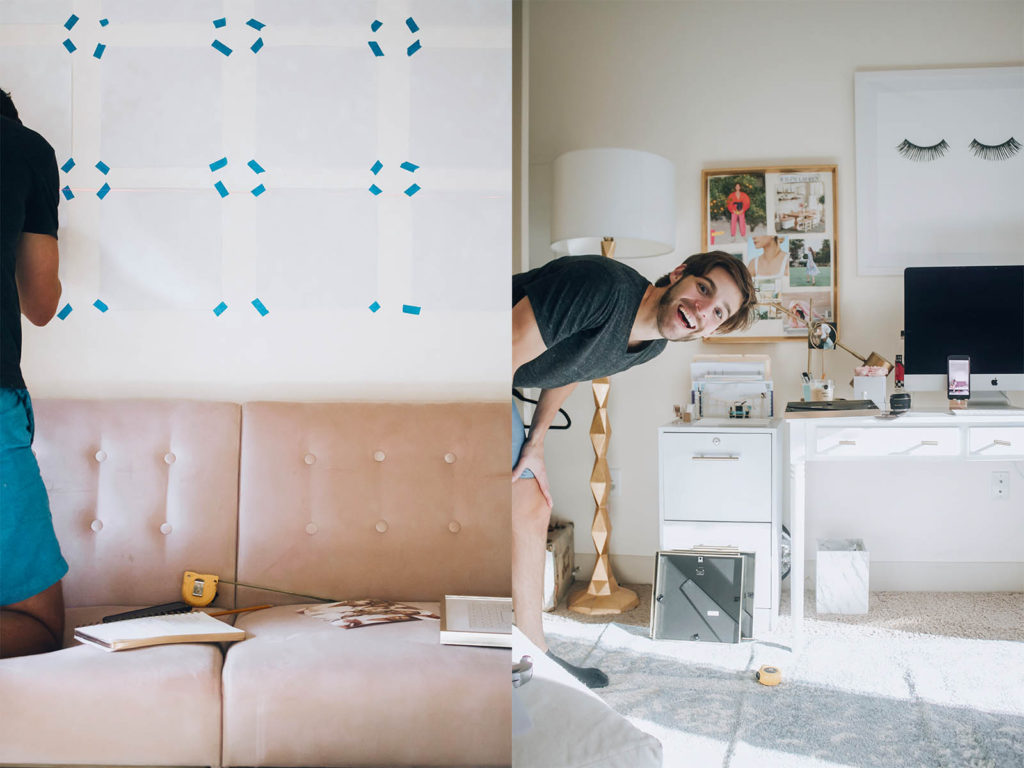
Using the backside of old wrapping back, measure and cut the exact amount of squares you will need.
Step Seven: Decide the Width that Will Go Between the Frames
We did 3″ between and 3″ above each photo.
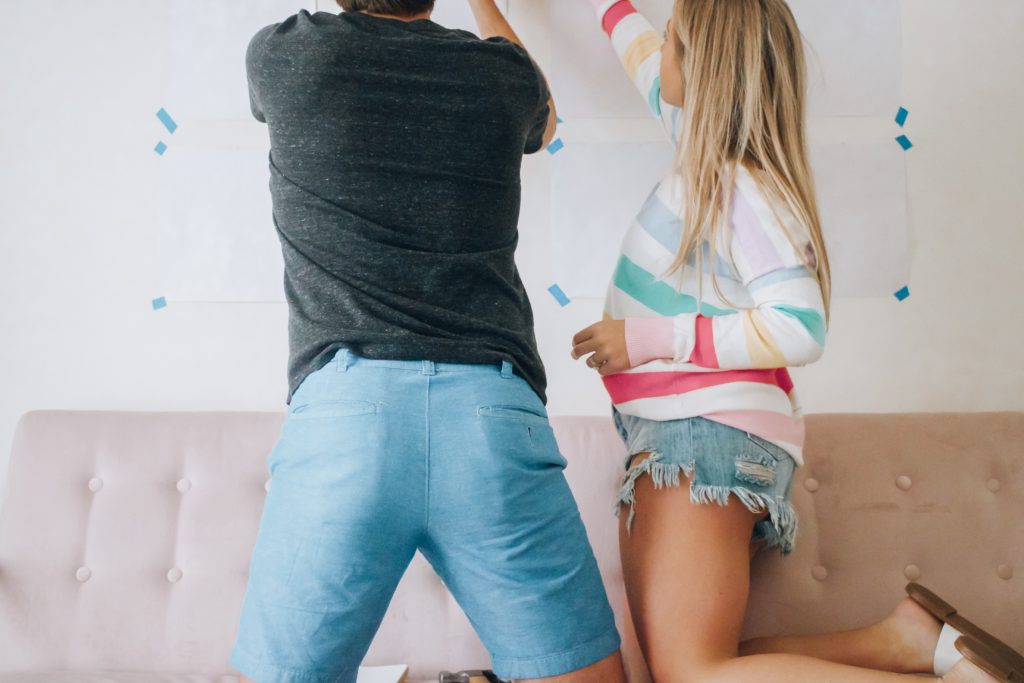
Step Eight: Start Building Your “Paper” Gallery Wall
This step is important for a number of reason, specifically as I mentioned above – for visualization. With this step, it will help you decide how big you want your gallery wall to be, how much space you want in between your photos and exactly where you will want it to go, in adjacent to your other pieces of furniture…. before you start hammering holes in the wall.
Step Nine: Measure and Mark Where the Nails Will Go
This is where the leveler, measuring tape and pencil will come into play! We found it easier to hang one row at a time.
First, take a look at the back of your frames to see how you’re supposed to hang them. Most frames are designed for the nail to go in the middle and others with one on each side. Ours had one in the middle.
Next, measure out and mark where you nail will go with a pencil on each piece of paper.
Step Ten: Use Your Levelers to make sure it’s even.
Now that you know where your nails are going, use your leveler to make sure that all of your “pencil” dots are 100% even.
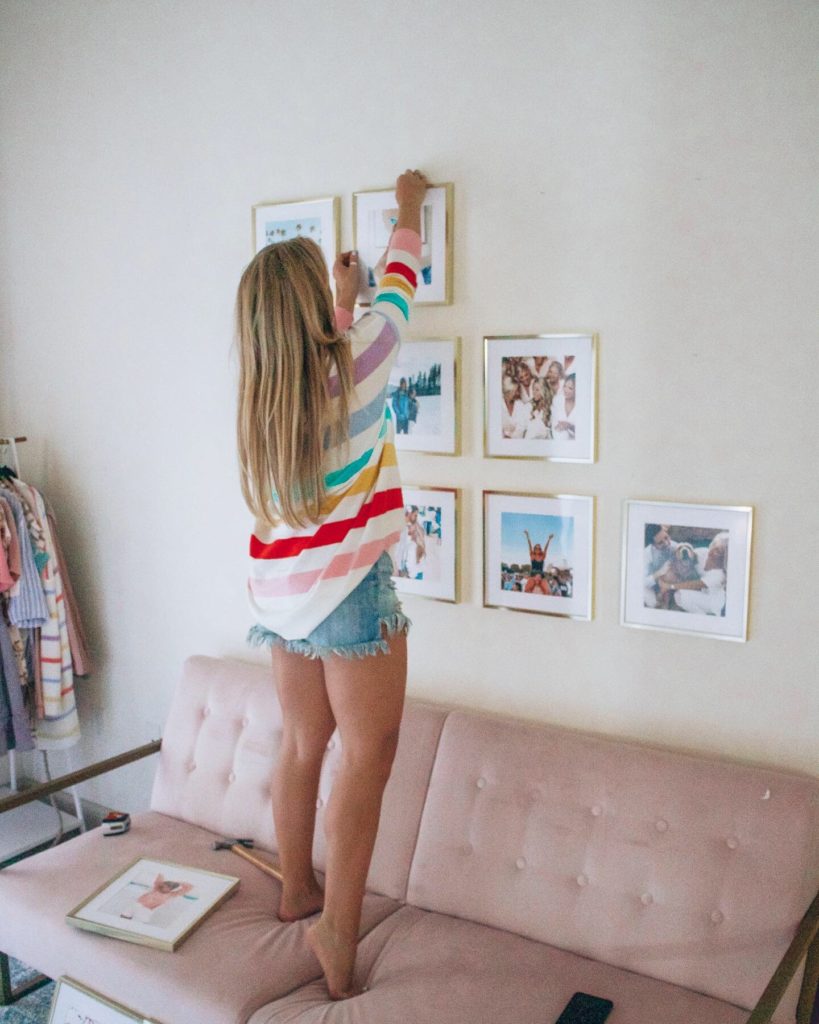
Step Eleven: Say a Prayer, Start Hammering and Hang Your Photos!
Step Twelve: Clean the Walls
If you made any smudges or marks on your wall during this process, take your Magic Eraser Marker, dampen it and use it to clean the marks on your wall! Works like a charm!
&&& that’s it!
I hope I explained this easy enough for you all and gave you some inspiration to design your own!
xo,
Lauren
SHOP MY OFFICE DECOR
SIMILAR POSTS: Fall Home Tour
I want this for my apartment!
Briana
https://beyoutifulbrunette.com